REFERENCE NOTES · PLATE 02 × PLATE 03
Nano Brows vs Microblading: A Technique Guide
Both techniques draw hair strokes. One draws them by hand with a fine blade. The other uses a machine and a single fine needle. This guide puts the two side by side to show how each stroke is made, which skin and brows each usually suits, and where each fits in a brow artist’s learning path.
SHEET CHECKLIST
Five questions to answer before you choose
NOTE A · THE STROKE
How Each Technique Draws a Hair Stroke
Both techniques aim for the same thing: fine strokes that follow the direction of natural brow hair. The difference is the tool. That changes how a stroke is made, how pigment goes into the skin, and which motor skills you have to practise.
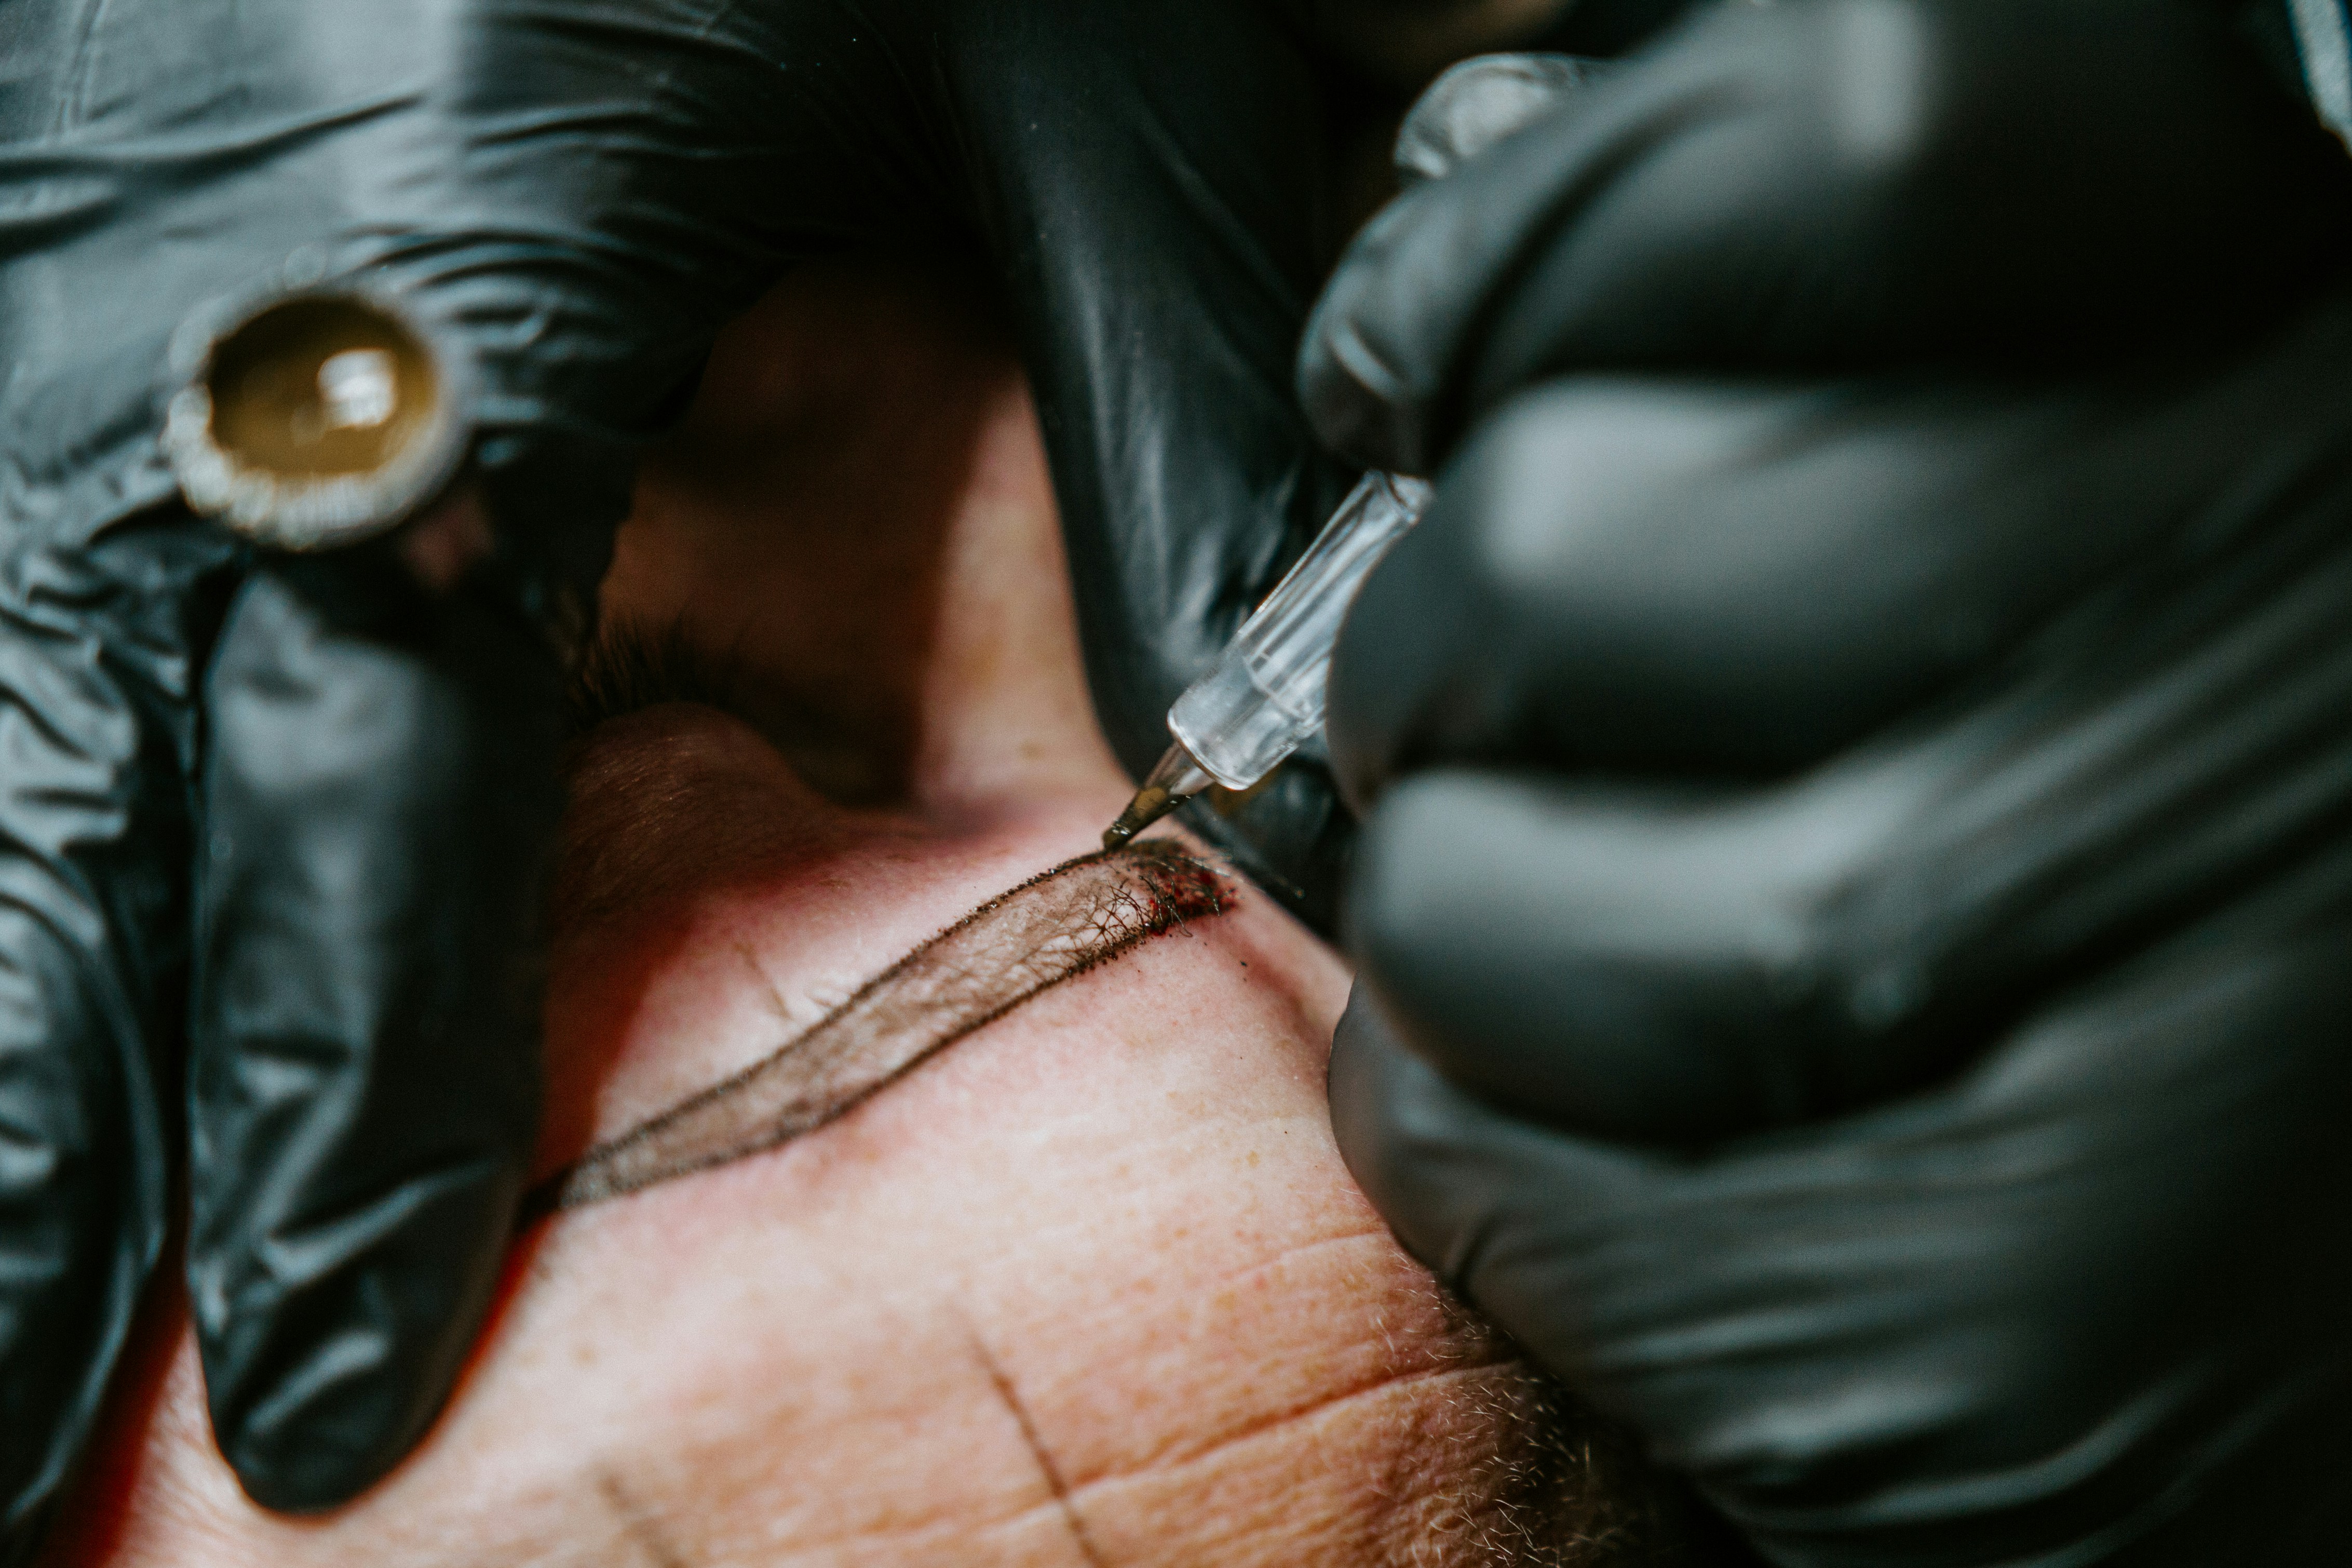
PLATE 02
Microblading
A manual handpiece fitted with a fine blade made of grouped needles.
Each hair stroke is made in one controlled, pressured pass by hand.
Steady hand pressure, a consistent angle and even depth on every stroke.
Crisp, fine strokes with a drawn, natural look.
PLATE 03
Nano Brows
A cosmetic tattoo machine fitted with a single fine needle.
Each hair stroke is built from many tiny pigment deposits as the needle moves.
Machine handling, hand speed and a smooth, continuous line.
Soft, fine strokes that can be layered for density.
NOTE B · THE CLIENT
Skin, Brow and Client Suitability
Artists often choose microblading for normal to dry skin, where fine, crisp strokes tend to stay well defined. On oilier or more sensitive skin, many artists prefer nano brows, because the machine places pigment in smaller, more controlled amounts.
The brow itself matters too. A client with some natural hair may only need strokes added to fill gaps. A client with very sparse brows may suit a denser, layered result, or a combination brow that adds soft shading under the strokes.
These are starting points, not rules. Every treatment starts with a consultation: assess the skin, look at the brow hair and agree on a mapped design before choosing a technique.
NOTE C · THE LEARNING PATH
Where Each Technique Fits in Your Training
You don’t have to choose one for good. Many artists learn one hair-stroke method first and add the other later. The order below is one clear way to build the skills.
01
Map the brow before any stroke
Symmetry and proportion come before technique. Our Brow Mapping Guide explains the construction lines behind every design.
02
Learn hair strokes by hand or by machine
Choose the Microblading Course for manual strokes or the Nano Brows Course for machine strokes. Our microblading explainer goes deeper on the manual method.
03
Add shading to your range
Shaded styles let you treat more brows. See the Powder/Ombre Brows Course and the Combination Brows Course.
04
Refine and keep practising
Once you work regularly, Advanced Brow Training helps you make your strokes, spacing and results more consistent.
END OF SHEET
Still Weighing Blade Against Machine?
Tell us your experience and what kind of brows you want to create, and we can help you find the right course. You can also send a question through our contact page.
RELATED READING