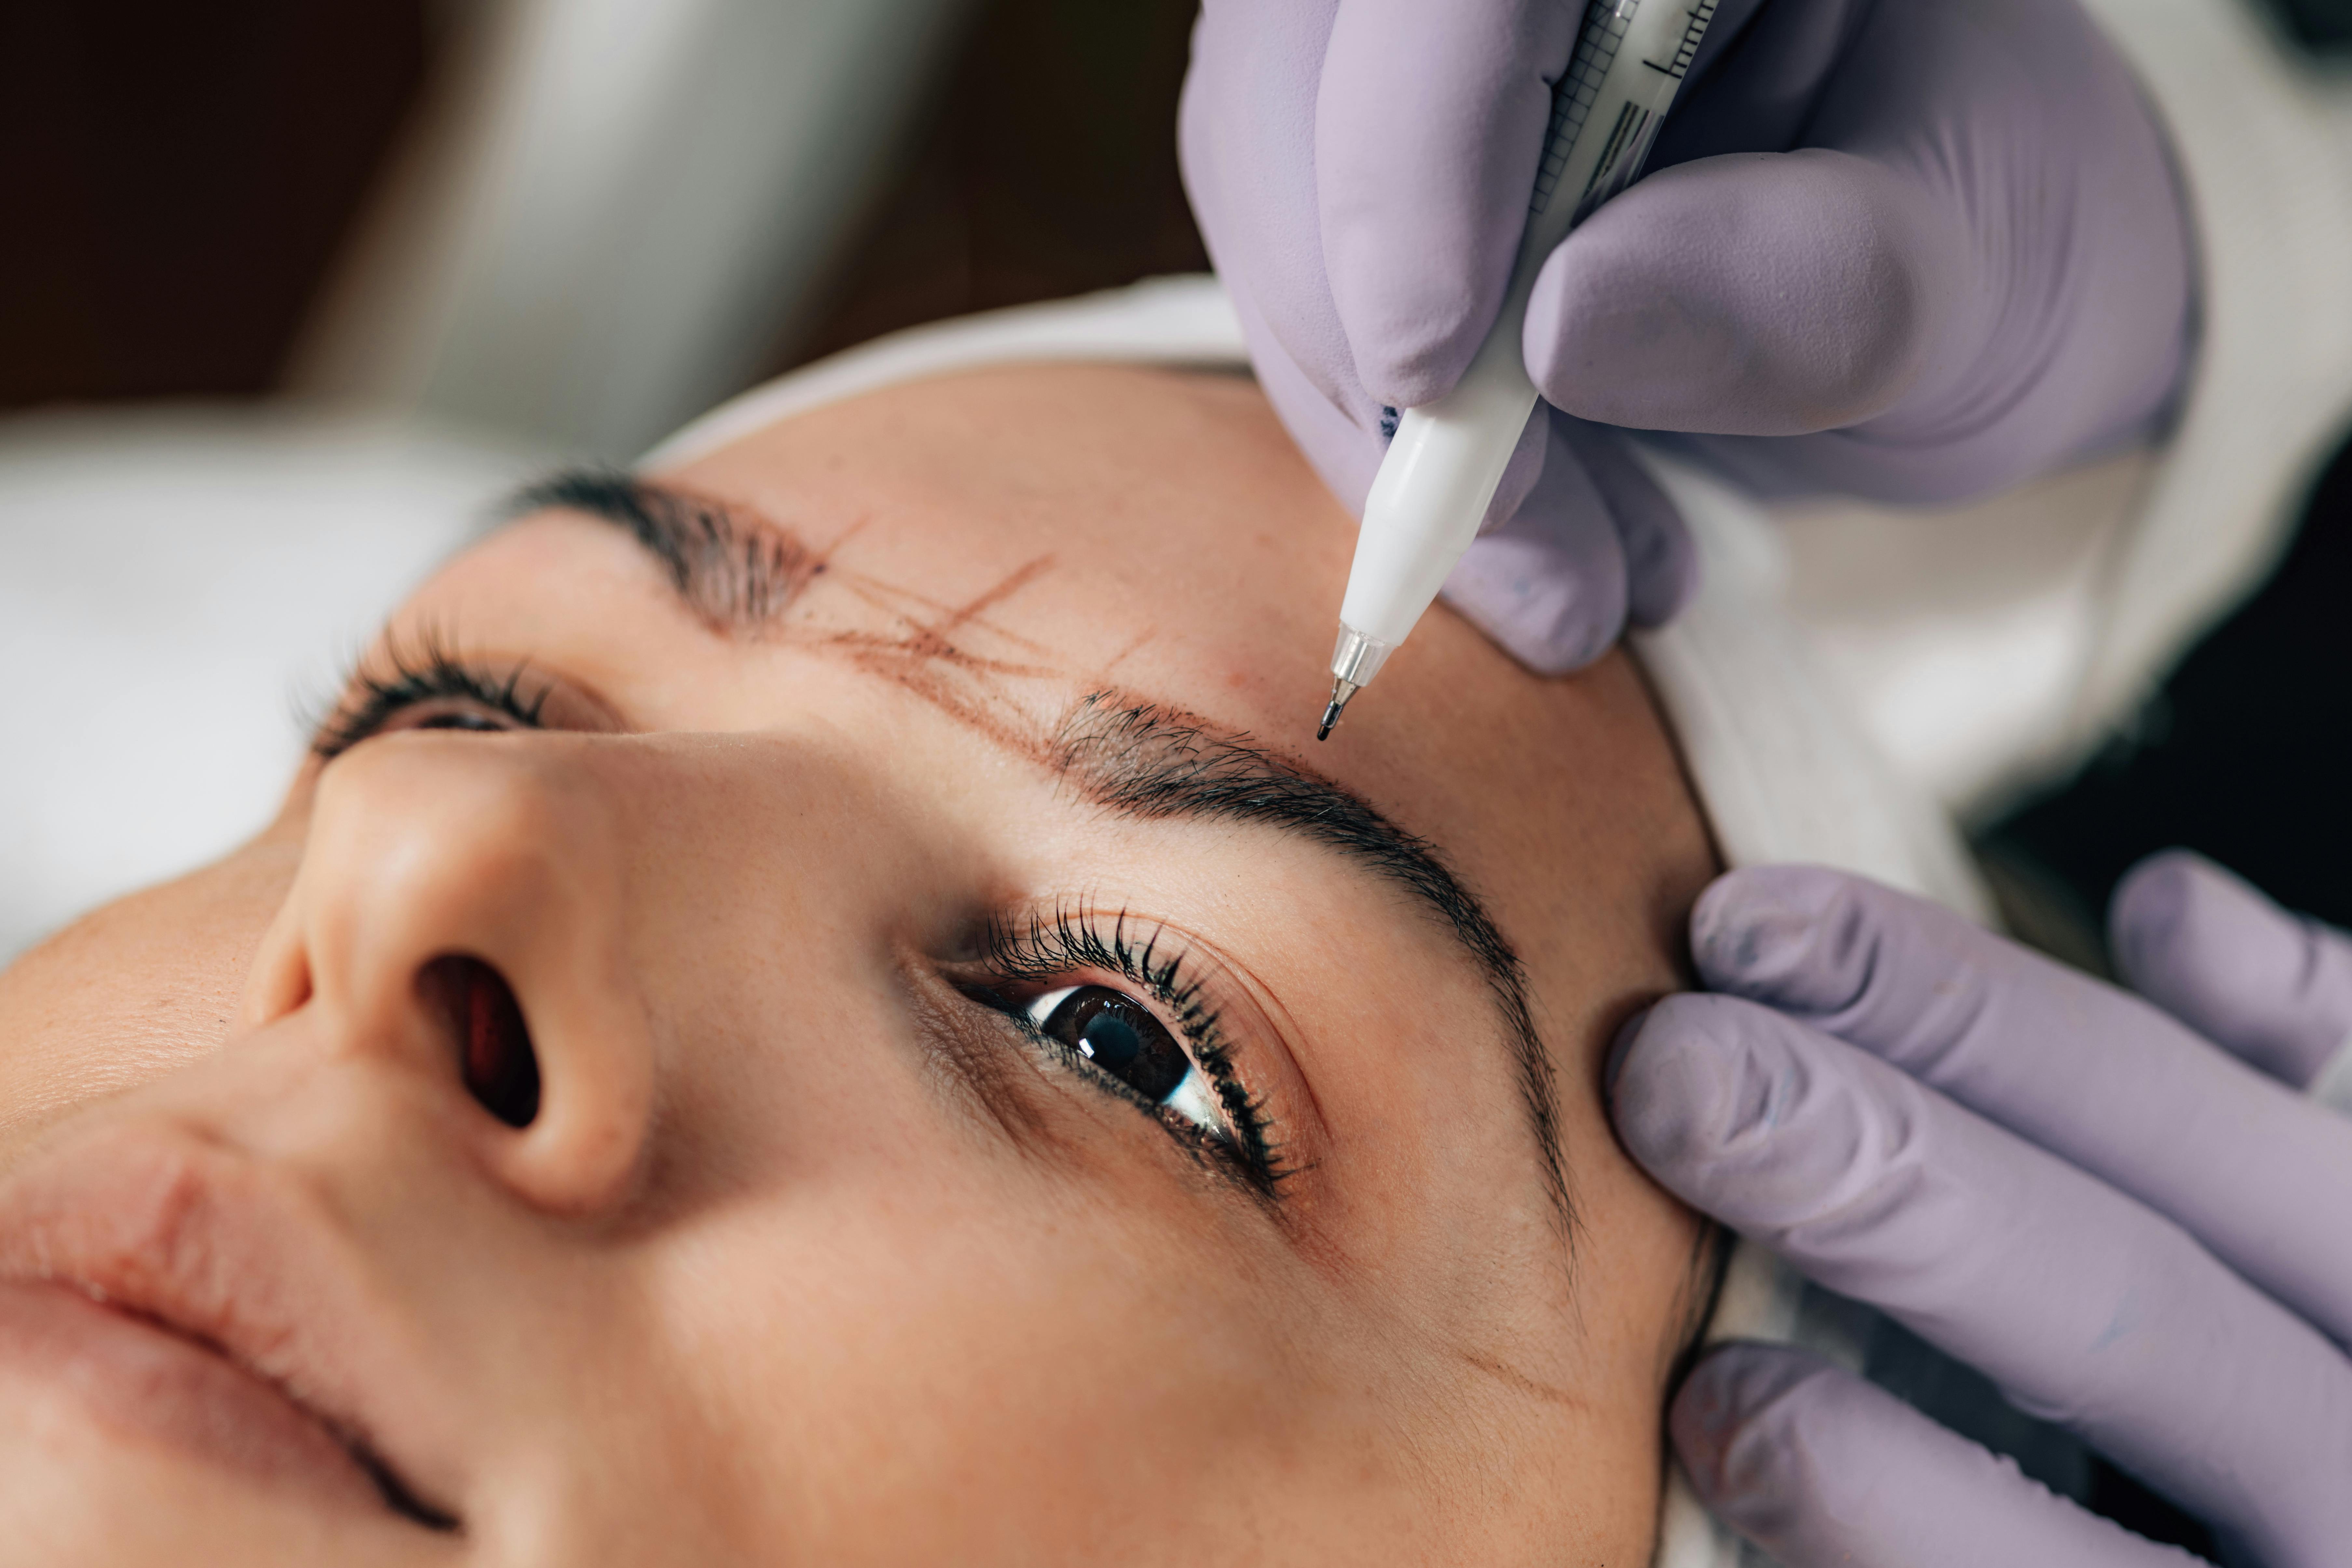
REFERENCE NOTES · PLATES 01, 02 & 05
Brow Mapping Guide
Every stroke, shade and tail depends on the plan drawn before any pigment goes in. Brow mapping is that plan. It is a set of measured lines that places the start, arch and tail of each brow in proportion to the face. This note covers the measuring points, how to read facial proportions, the tools artists use and the mistakes that throw a design off balance.
NOTE i · THE THREE ANCHORS
The Measuring Points
Most mapping systems begin from the same landmark, the outer edge of the nostril. From there, three lines set the frame of the brow. Map with the client seated upright, facial muscles relaxed and eyes looking straight ahead, because a tilted head or a raised brow moves every point.
POINT A
The start
A vertical line from the side of the nostril, running past the inner corner of the eye. It sets where the brow head begins and how far apart the two brows sit.
POINT B
The arch
A diagonal from the nostril through or just beyond the outer edge of the iris. It marks the highest point of the brow, and even a small shift changes the expression.
POINT C
The tail
A diagonal from the nostril past the outer corner of the eye. It sets where the brow ends. Most artists keep the tail no lower than the brow head.
GUIDE LINES
Top and bottom borders
Horizontal lines join the points on both sides, so the heads, arches and tails line up across the face before the upper and lower edges are drawn.
NOTE ii · READING THE FACE
Facial Proportions Before Formulas
Measuring points are a starting grid, not a verdict. No face is perfectly symmetrical. One eye may sit higher, one brow bone may be fuller, or the client may lift one brow out of habit when they talk. A skilled artist maps to the face in front of them and uses the lines to balance it, not to force a textbook shape onto it.
Look at eye spacing, forehead height, brow bone and face shape together. Wide-set eyes may need brow heads placed slightly closer, and close-set eyes may need more space between them. A strong brow bone can carry a more defined arch, while softer features often suit a gentler lift. The client’s natural hair pattern matters too, because it shows where strokes will look believable in feathering and microblading.
SYMMETRY CHECKS
NOTE iii · THE DRAFTING KIT
Mapping Tools
Snapped against the skin to leave fine, straight guide lines for the borders and centre axis.
A flexible ruler for checking distances from the centre axis and comparing one side with the other.
Used to transfer a measurement from one brow to the other and test proportions quickly.
A fine point for marking the start, arch and tail, and for sketching the shape inside the lines.
Applied outside the outline so the mapped shape is clear to the artist and the client before approval.
Tools make lines straight. Judgement makes them right. Practise mapping on paper face charts and practice skins until the sequence is automatic.
NOTE iv · COMMON MISTAKES
Where Maps Go Wrong
Mapping a moving face
If the client raises their brows, squints or lies flat while you measure, the points shift. Map and approve the design with the client sitting up and relaxed.
Trusting the formula over the face
Ratios give a strong starting point, but copying them exactly onto an asymmetrical face can make the imbalance more obvious. Adjust to bone structure and muscle movement.
Thick or smudged guide lines
A wide line hides a millimetre of error. Keep strings fine and pencil points sharp, and clean up before checking symmetry.
Ignoring the natural brow
A design that ignores existing hair growth leaves strokes fighting the brow as it grows back. Work with the brow’s own direction and density.
Skipping client approval
The map is the moment to agree on shape, thickness and arch. Show it in a mirror and adjust before any pigment is placed.
NOTE v · WHERE MAPPING IS TAUGHT
Put the Map to Work
Mapping is the foundation of the academy’s brow courses. It matters most where every hair stroke or shaded edge has to sit inside a precise frame. To go further, read Choosing a Brow Course or the eyebrow feathering guide.
Have a question about which course fits your experience? Contact the academy.
Mapping as the frame for fine hair strokes that follow natural growth →PLATE 02 Microblading Course
Placing hand-drawn blade strokes inside a measured outline →PLATE 05 Combination Brows Course
Balancing hair strokes at the head with shading through the arch and tail →FOLIO All Brow & Cosmetic Tattoo Courses
Plates 01 to 07 →