REFERENCE NOTES · PLATE 04 COMPANION
Powder and Ombre Brows: Technique Guide
Hair-stroke brows are drawn as lines. Powder and ombre brows are shaded, with pigment placed as fine dots and soft passes that build into a tone, like graphite rubbed across paper. These notes are written for trainees. They cover how a shaded brow is built from the front to the tail, where pigment should sit, and how powder and ombre finishes differ.
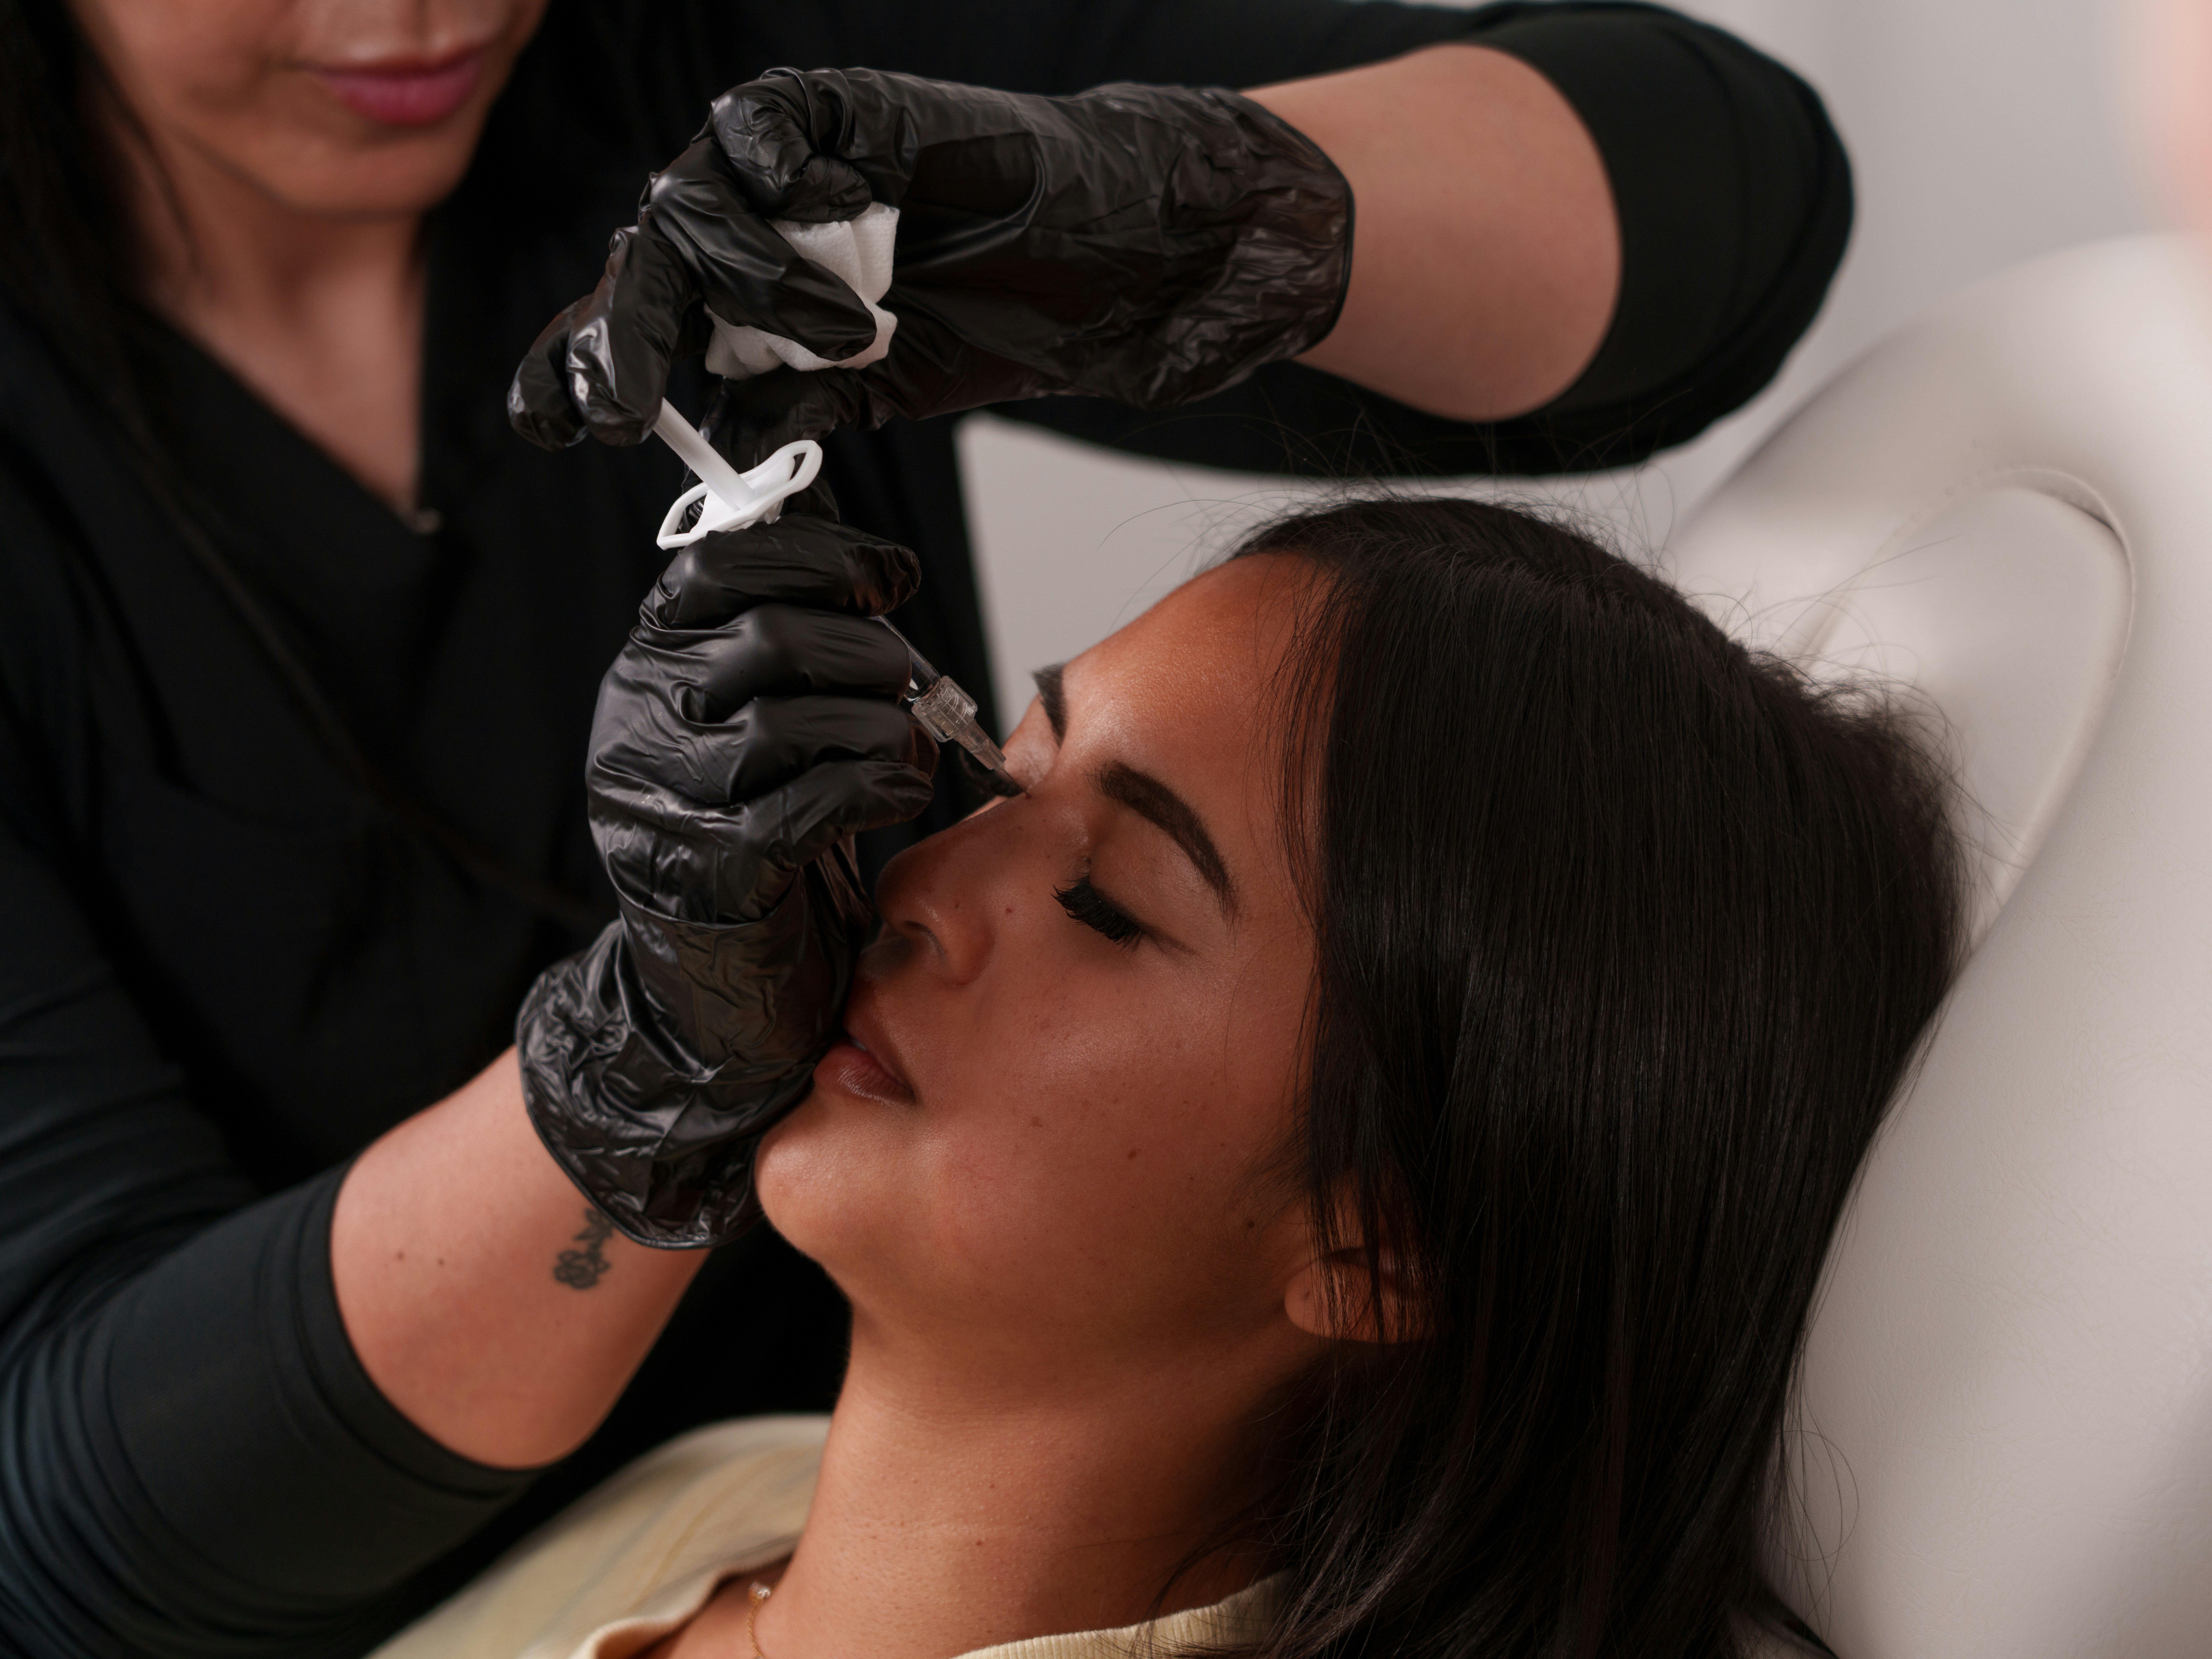
Reference image: cosmetic tattoo pen at the brow.
PLATE 04 · NOTE ii
Building the Gradient, Front to Tail
A shaded brow is never one flat colour. The eye reads a brow as natural when it is lightest where hair is sparse and most defined where hair is dense. The trainee’s job is to plan that change in tone before any pigment goes in, then build it in layers rather than trying to get there in one pass. Think of the brow in three zones.
ZONE A
The Front
Kept soft and airy. Pigment is spaced out so the front fades into the skin with no hard edge. A heavy front is the most common reason a shaded brow looks drawn on.
ZONE B
The Body
Here the tone builds. Passes overlap a little more and the shading moves steadily up towards the arch. The transition should read as a slope, not a step.
ZONE C
The Arch & Tail
This is the most defined part of the brow. The edges are cleaner and the tone is at its fullest. The tail still tapers so the brow ends lightly.
PLATE 04 · NOTE iii
Pigment Placement Starts With the Map
Shading shows every error in the outline, so placement begins with brow mapping. The start, arch and tail points set the frame. The gradient then fills that frame. If the map is off, even perfect shading will look lopsided.
Trainees learn to keep an even hand speed and a steady angle, because both affect how much pigment settles into the skin. Uneven speed leaves patches. Going too deep in one place leaves spots that stay darker than the rest.
Pigment colour is part of placement too. Choosing a tone that suits the client’s natural hair and skin, and knowing that a shaded brow softens once it settles, keeps a trainee from overworking the first session.
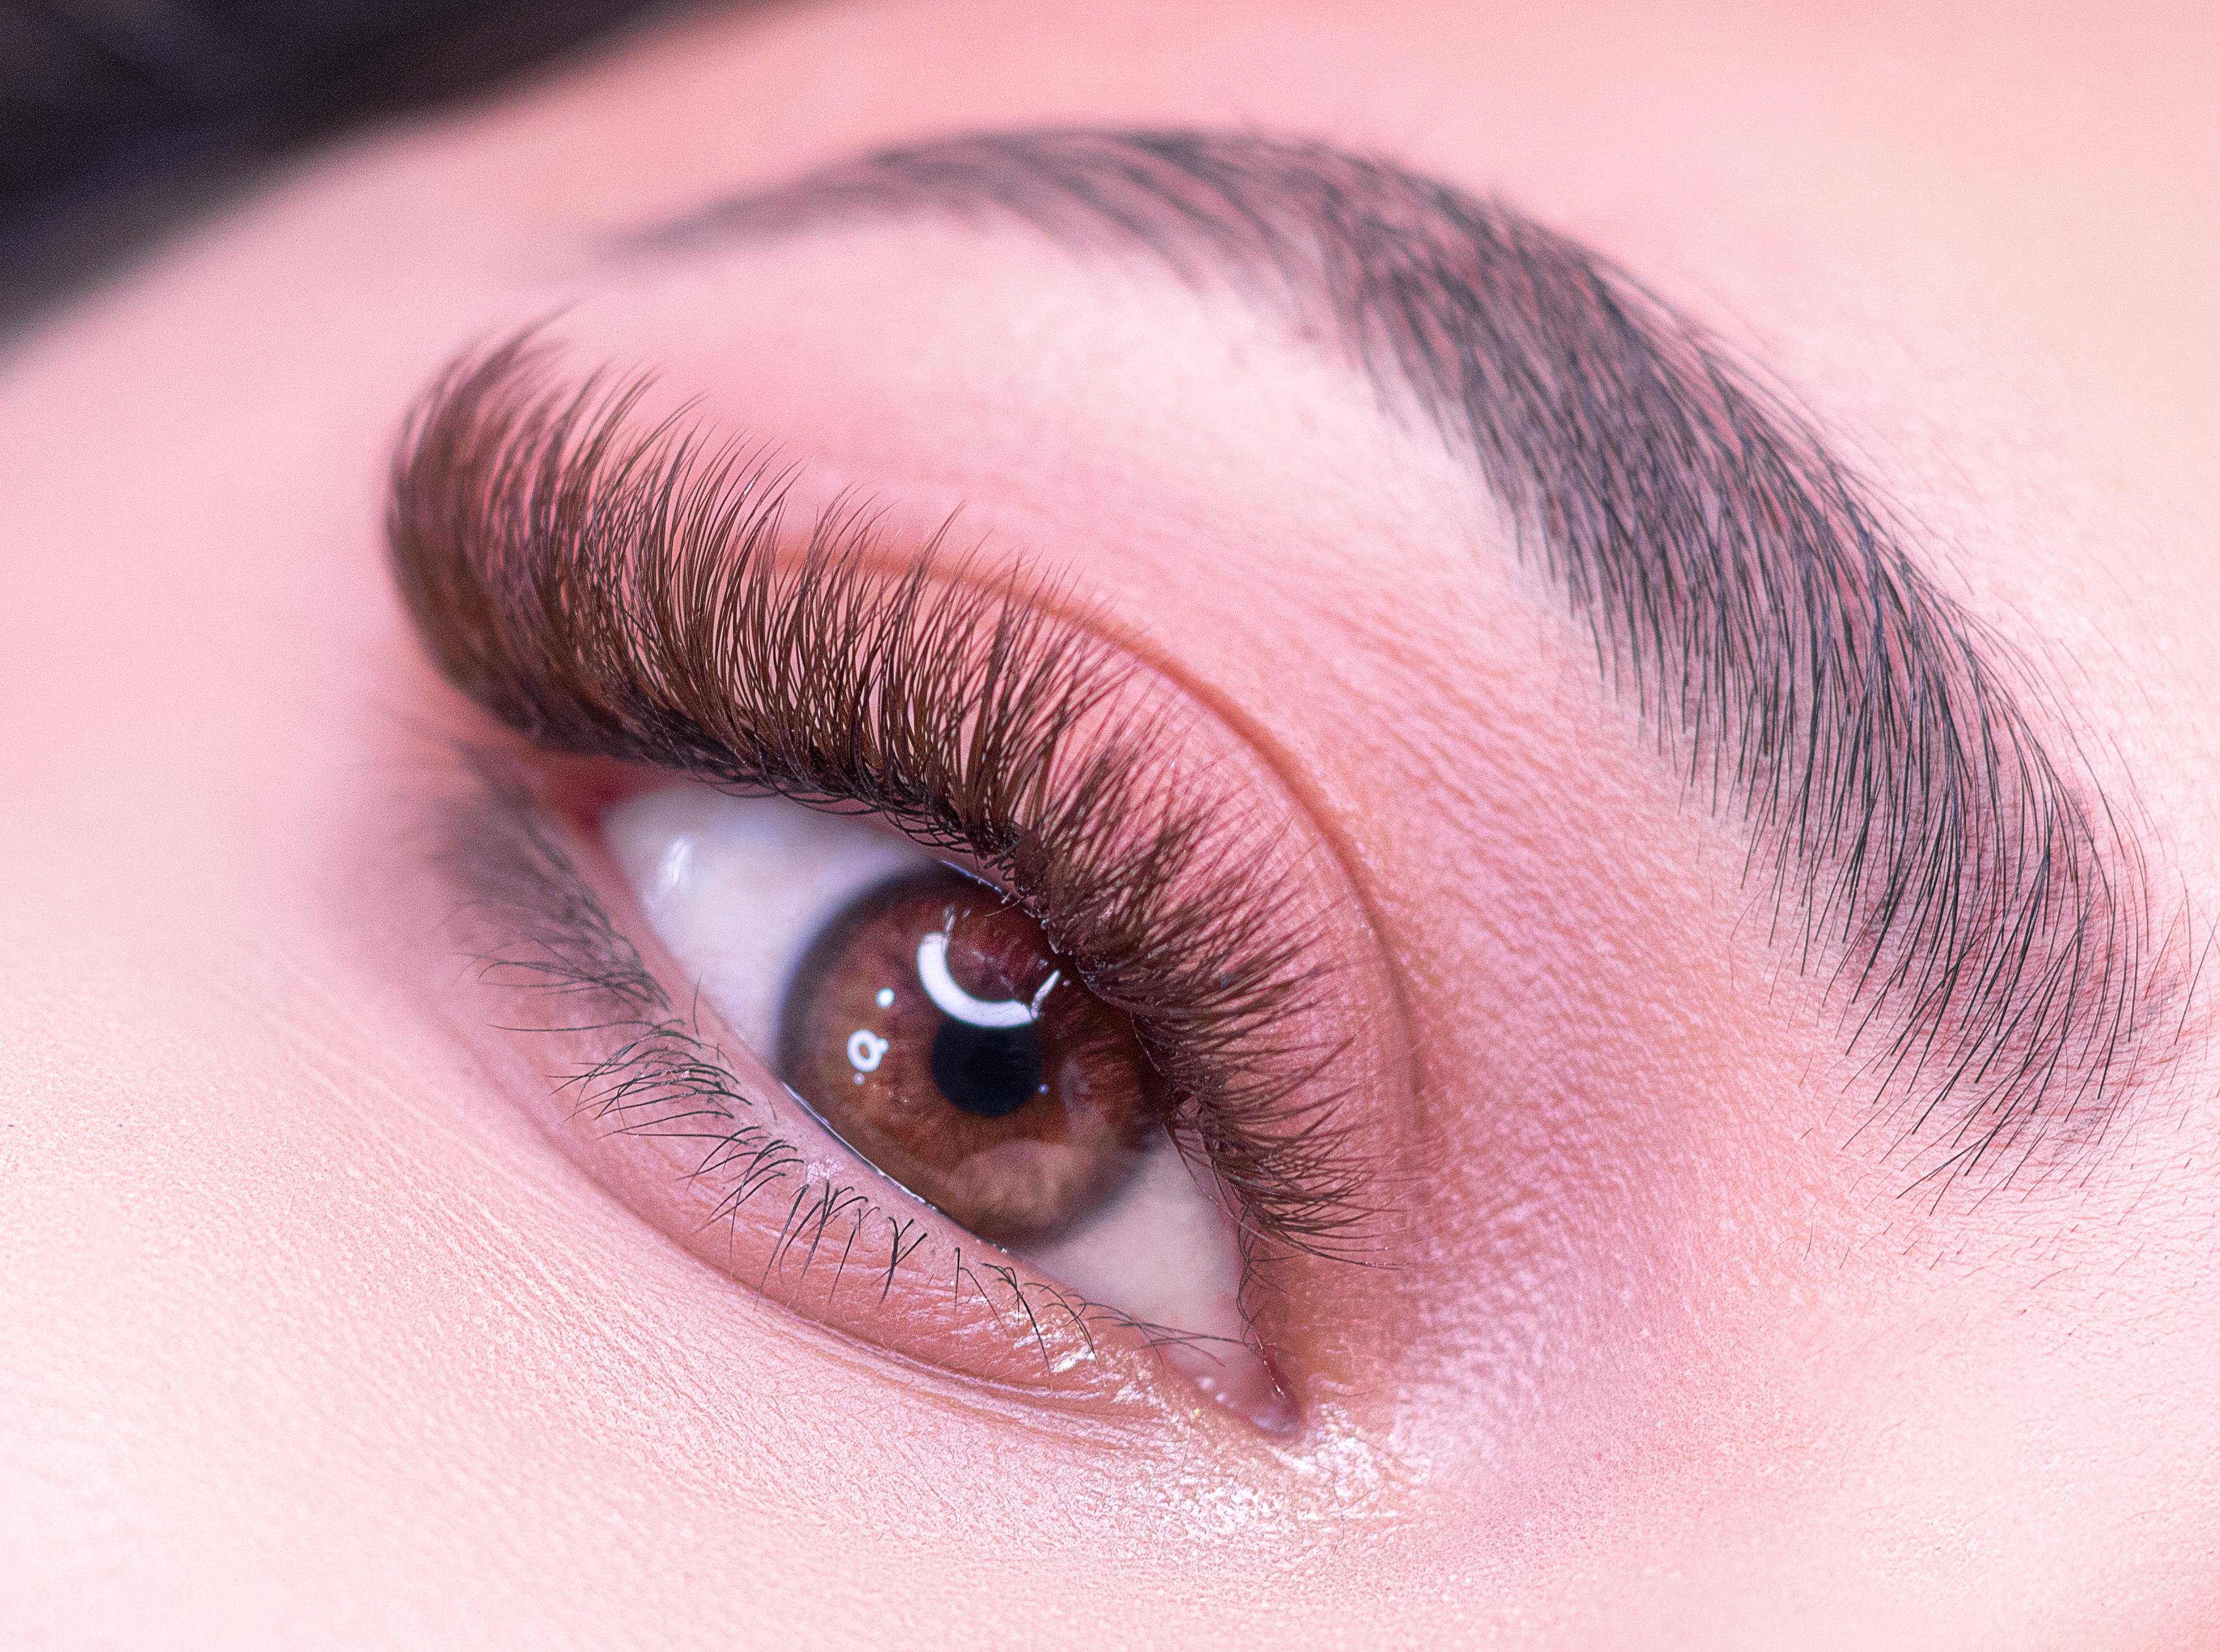
Reference photograph: a full, defined brow for studying tone and shape.
PLATE 04 · NOTE iv
Powder or Ombre?
Both use the same shading skills. What changes is how strong the gradient is. Many artists then add hair strokes to the front, which leads to combination brows.
PLATE 04 · NOTE v
A Practice Sequence for Shaded Brows
Shading is learned through supervised repetition. The Powder/Ombre Brows Course covers these techniques in a structured way. Artists who want to add strokes can continue to the Combination Brows Course. For questions before enrolling, contact the academy.
Related reading: Nano Brows vs Microblading · Choosing a Brow Course